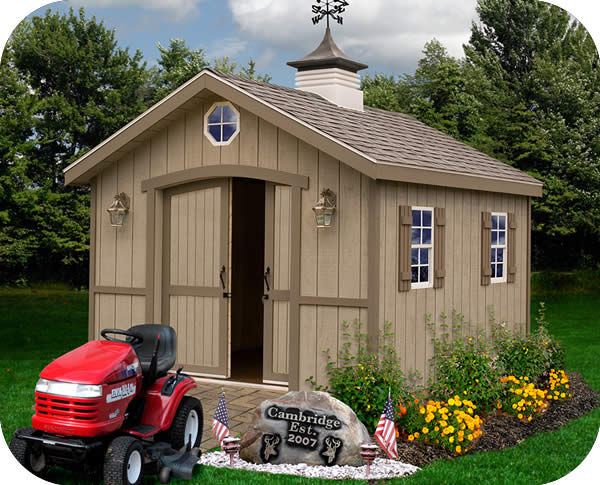
Alright, let's talk sheds! You know that feeling, right? You've got stuff piling up, the garage is overflowing, and your patio looks like a storage unit exploded. Well, fear not, my friend! Building a DIY wooden shed is a fantastic way to reclaim your space, add some charm to your yard, and feel like a real-life homesteader (even if you're just storing lawn chairs and gardening tools).
Step 1: The Blueprint and the Dream
Before you get your hands dirty (and you will get dirty, trust me!), you gotta plan it out. Think about what you want to store in your shed. Do you need a lot of vertical space? A wide-open floor? Decide on the dimensions of your shed, keeping in mind building codes and your available yard space.
Now, you can go all out with a custom design, or keep things simple with a pre-made shed plan. There are tons of free plans available online, and even some affordable kits you can buy. If you're a beginner, a basic shed plan with a gable roof is a great place to start. You know, like a traditional shed, but without all the fancy trim work.
Step 2: Gather Your Crew and Supplies
This is where things get fun! You can tackle this project solo, but having a friend or two to help lift heavy lumber and hold things steady is always a good idea. You'll need your basic tools:
Measuring tape and level: Essential for accuracy.
Hammer and nail gun: You'll be driving a lot of nails.
Saw: A circular saw or a handsaw will be your best friend.
Drill: For pre-drilling holes and attaching hinges.
Safety gear: Always wear safety glasses, gloves, and a dust mask.
Now, for the lumber. You'll need:
Pressure-treated lumber for the base: This will resist rot and bugs, especially if your shed is on the ground.
Dimensional lumber for the walls and roof: Look for 2x4s or 2x6s, depending on the size of your shed.
Plywood for the siding: This gives your shed a finished look and protects the wood underneath.
Shingles or roofing felt: For the roof.
Doors and windows: If you want some light and ventilation.
Step 3: Building the Foundation
Your shed needs a sturdy foundation to prevent it from sinking or shifting. A simple concrete slab is a good option, but you can also create a gravel base or use pressure-treated lumber to build a raised foundation. If you're going the gravel route, make sure to lay down landscape fabric to prevent weeds.
Step 4: Framing Up the Walls
Now we're getting to the meat of the project! Cut your lumber for the wall frames according to your plan. This is where those pre-drilled holes come in handy. Pre-drilling helps prevent the wood from splitting when you're driving screws.
Once you have your wall frames built, you can attach them to the foundation using screws or nails. Make sure they're plumb and level. Don't forget to add braces for extra support, especially if you're building a larger shed.
Step 5: The Roof is the Key
The roof is what's going to keep your stuff dry, so it's important to get it right. You'll need to build rafters to support the roof sheathing. Again, follow your plan carefully.
Once the rafters are in place, you can add the sheathing. This is the layer of plywood that forms the base for your shingles. Make sure the sheathing is secured with plenty of nails. Then you can go ahead and install your roofing material.
Step 6: Siding and Finishing Touches
Here's where you can get creative! You can choose from various siding materials like plywood, cedar, or even metal. Just make sure to choose a material that can withstand the elements.
Once the siding is up, you can add doors and windows. Be sure to install them properly and use weatherstripping to seal any gaps. Then, you can paint or stain your shed to give it that perfect look.
Step 7: The Finishing Touches
Now it's time to add some finishing touches. Consider adding a floor, shelves, or even a workbench inside your shed. You can also add a light fixture, a vent for ventilation, or even a small window for natural light.
Step 8: Celebrate Your Achievement
You did it! You built your own shed. Now you can take a moment to admire your handiwork. Go ahead, put on some music, crack open a cold one, and soak in the satisfaction of building something with your own hands.
Remember, building a DIY shed is a labor of love. It's about taking your time, getting creative, and enjoying the process. Don't be afraid to ask for help if you need it, and don't worry if things don't go perfectly. The most important thing is to have fun and be proud of what you create. You got this!
0 comments:
Post a Comment